There's a specific kind of shopping fatigue that comes from looking for shelf decor. You wander through home stores, scroll through marketplaces, and everything looks fine. None of it looks like yours. Mass-produced shelf pieces are made for nobody in particular, which is the whole problem. They fill space and add nothing to the room.
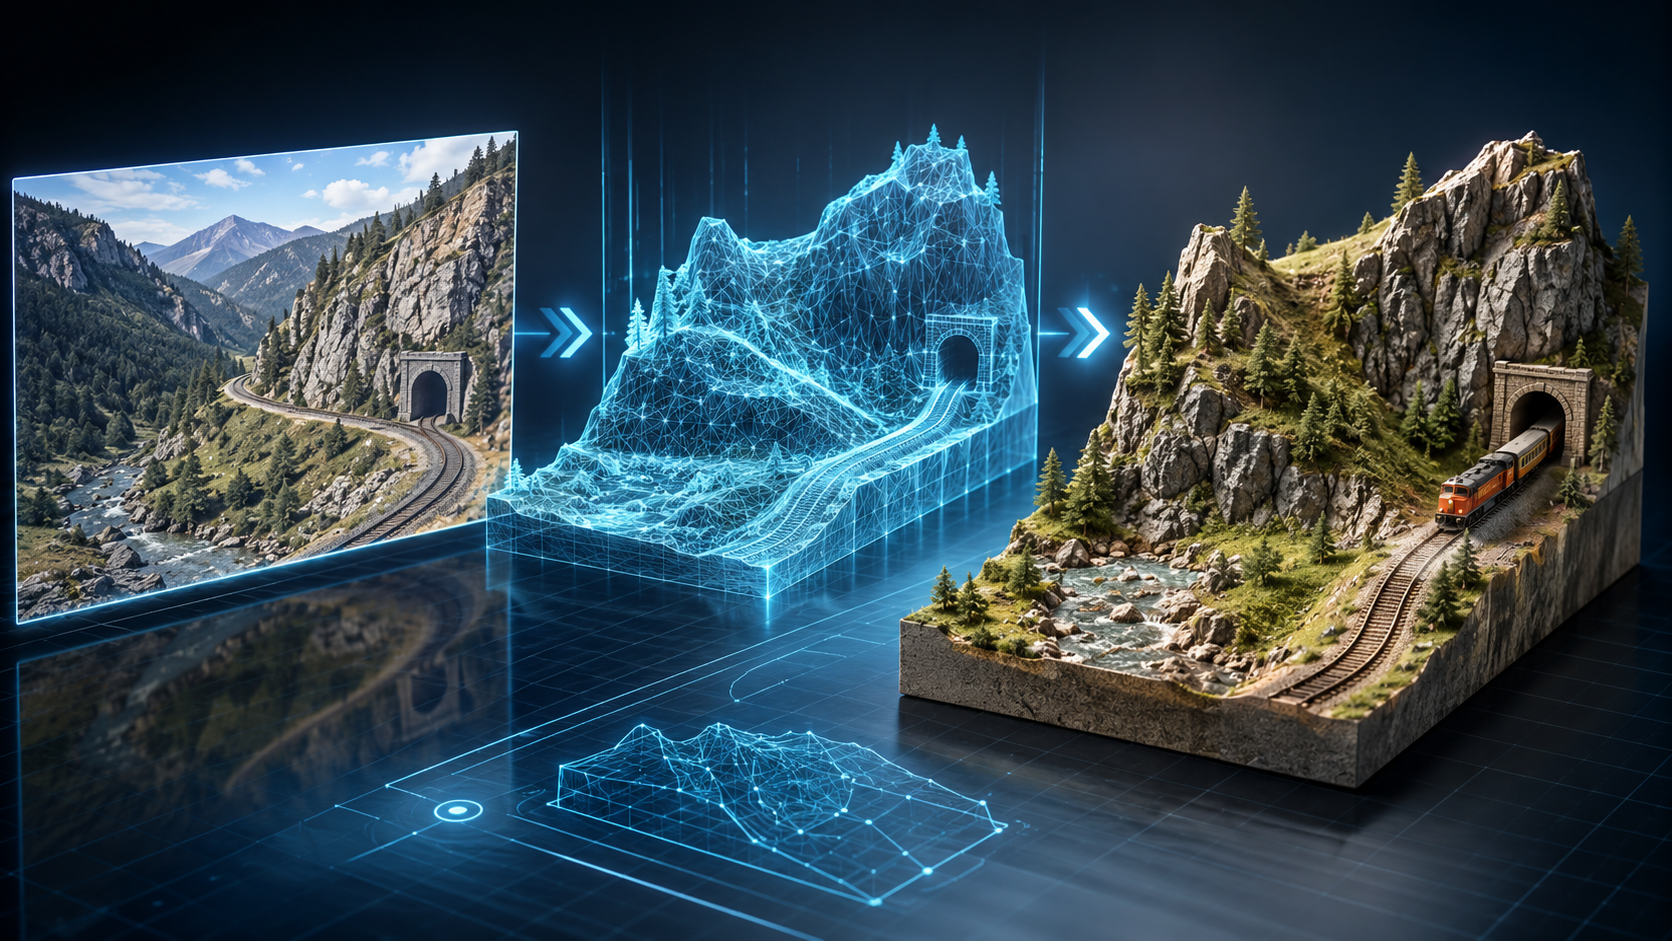
The image-to-STL workflow is the cleanest fix for this I've found. Snap a photo of something interesting, run it through a converter, print the result, paint or finish it, put it on the shelf. The whole loop costs a few dollars in filament and an afternoon of time. The result is a piece nobody else has, because it came from a photo only you took.
This is a practical walkthrough of how the workflow actually plays out for desk and shelf sculptures. It's not a generic 3D printing overview. It covers the small decisions that separate a print you display proudly from one that sits in a drawer. There's a full FAQ at the end for the questions that come up every time I tell someone about this.
Why shelf sculptures are a sweet spot for AI 3D
Decorative sculpture is one of the more forgiving categories for AI 3D reconstruction. There's no anatomy to fail, no exact proportions to violate, no working mechanism to honor. A sculpted shape just needs to read interesting from across the room. That's a much lower bar than, say, a functional bracket or a character figurine with believable hands.
The other reason this works: shelf pieces almost always get finished. You'll prime, paint, wash, drybrush, or coat the print before it goes on display. Any minor surface imperfection from the AI mesh disappears under finish. By the time the piece is on the shelf, it looks like a deliberate object, not a 3D print.
Scale is also flexible. The same STL can become a tiny bookend filler at 60 millimeters tall, a hero desk piece at 200 millimeters, or even a floor-corner sculpture if you have a large-bed printer. You don't commit to scale at conversion time. You scale at slicing time, depending on where the piece is going.
Choosing a subject that actually photographs well
The best shelf sculptures come from subjects with three traits: clear silhouette, interesting surface texture, and a single dominant form. A few categories that consistently produce great results:
- Natural objects. Driftwood, weathered rocks, pinecones, dried seed pods, gnarled tree roots, large mushrooms. These are nature's sculpture studies. They already have the kind of organic shape and surface variation that prints beautifully.
- Sculptural everyday objects. An interesting bottle, a stone you picked up on a trip, a ceramic vase, the spiral of a seashell. Anything where the form itself is the point.
- Architectural fragments. A carved stone detail from an old building, a weathered iron fixture, a piece of decorative brick. Cities have these everywhere if you start looking.
- Abstract organic forms. A cloud against a clean sky, a flame, water frozen mid-pour. Anything ephemeral that's only ever been captured in a photograph.
The subjects that disappoint are predictable: anything mostly flat (a painting, a leaf pressed against a wall), anything mostly transparent (glass, water without form), anything composed of many small pieces (a flower arrangement, a cluster of items). The converter wants one form to focus on.
Taking the photo
The photo is the whole game. If the print disappoints, the photo is almost always the reason. Five things to get right:
- Fill the frame. Get close. The subject should take up most of the image, with minimal margin. Distant subjects come back as low-resolution blobs.
- Side lighting. Light should rake across the subject from the side, revealing its surface texture. Direct front lighting flattens everything. Overhead lighting at noon kills depth.
- Plain background. A wall, a piece of paper, the sky, plain grass. Anything textured or busy behind the subject can leak into the geometry.
- Phone parallel to subject. Tilted angles introduce perspective distortion that the converter takes literally. Stand directly in front of the subject, with the phone level.
- Single exposure, no HDR or filters. The converter prefers the rawest data possible. HDR can create double edges in the silhouette. Filters that boost contrast sometimes invent surface detail that wasn't there.
You don't need a real camera. A modern phone produces images far better than the conversion process actually uses. Spend your effort on framing and light, not on the hardware.
Running the conversion
Open 3DWebGen's image-to-STL converter, drop the photo in, and let it process. You'll get an STL file back. Open it in your slicer to preview the geometry before printing.
If the result looks shallow or pancake-flat, the photo had too little tonal variation. Try shooting at a different time of day. If the surface looks lumpy in a way that doesn't match the original subject, you may have had background clutter the AI tried to interpret. Crop tighter and reconvert.
Iteration is cheap and the conversion is fast, so it's better to run the photo through a few times with different crops and lighting than to try to repair a mediocre mesh afterward.
Scaling the print to the space it'll live in
Before you slice anything, walk over to the actual shelf or desk where the piece will live. Measure the slot. Most shelf compositions look best with pieces in three loose height tiers: small (60 to 90 millimeters), medium (110 to 160 millimeters), and tall (200 millimeters and up). Knowing your slot tells you which tier you're printing for.
Two practical scaling rules:
- The piece should not be wider than two-thirds the shelf depth. A piece that nearly touches the front edge looks crammed. Leave breathing room.
- Height should harmonize with neighbors, not match them. If everything on the shelf is 120 millimeters tall, the new piece should be either notably shorter or notably taller. Repetition flattens visual interest.
For desk pieces, the rules are different. A desk sculpture works best between 80 and 140 millimeters tall, sitting close to the back edge of the desk so it doesn't compete with your monitor. Anything taller starts to look like clutter on a working desk.
Cleaning up the underside
Most AI-generated meshes have a slightly uneven bottom because the converter doesn't know there's supposed to be a flat plane there. For a display piece this matters more than for terrain. A piece that rocks on the shelf looks like a defect, even if it's only one millimeter off.
Two ways to fix it without leaving your slicer:
- Slice horizontally a few millimeters above the lowest point with the cut tool. Discard the bottom. You're left with a perfectly flat base.
- Drop a thin disc or square as a modifier shape under the mesh, set it as a union, then export. Some slicers handle this without complaint.
I usually go with option one because it's faster and the lost few millimeters never matter for an organic sculptural form. Your eye won't notice that the cloud sculpture is missing a millimeter at the bottom.
Picking a print orientation that hides supports
Whichever face of the print is going to touch the build plate is the one that will pick up brim marks and bed texture. Whichever direction is up gets support scars on any overhangs. So choose orientation around the question: which surface is the back?
For shelf pieces, the back is the side facing the wall. Orient the print so the back side takes any necessary support marks. The front, the side facing the room, should be either touching the build plate (smooth bottom-up finish) or facing away from any supports.
For desk pieces that get viewed from all sides, there is no easy back. Try to lay the piece on its widest, most uniform surface to minimize support contact. Tree supports leave cleaner surfaces than linear supports.
Print settings that flatter sculptural pieces
Sculptural prints benefit from settings that are a notch above what you'd use for utilitarian parts:
- Layer height 0.12 to 0.16 millimeters. Fine enough to hide the layer lines a casual viewer would notice on a display piece. If you're going to paint heavily, 0.2 mm is still fine.
- Four perimeter walls. Adds visual depth to the print, hides minor surface artifacts.
- 15 percent infill. Plenty for a piece that's just going to sit there.
- Slower outer perimeter speed. Drop it 30 percent below your normal print speed. The visible surface comes out noticeably cleaner.
- Ironing on flat top surfaces if your slicer supports it. Makes any horizontal surface look like polished plastic.
For resin printers, use your usual mini-style settings. Resin handles AI surface detail beautifully and is the right choice if you want the print to look like a serious display piece without any finishing work.
Finishing the print so it doesn't look 3D printed
This is where a lot of hobbyists give up. The print comes off the bed, looks fine but not great, and it goes in a drawer. The actual move is to commit one more hour to finishing. Three approaches that consistently produce display-grade results:
The painted approach
Spray a dark grey or black primer over the whole print. This unifies the surface and reveals any spots that need light sanding. Once primed, basecoat in your chosen color with a brush or rattle can, then drybrush in two or three progressively lighter tones to bring out the geometry. A dark wash in the deepest recesses adds final depth. Total time: maybe 90 minutes spread across two days of drying.
The stone-effect approach
Stone-textured spray paint sold for craft purposes makes a 3D print look genuinely like carved stone. Spray a couple of light coats, let it cure, dust with a darker wash in the recesses, and it reads as authentic from any reasonable viewing distance. This is the move for sculptures meant to look classical or natural.
The metallic approach
Prime in black. Spray with a quality metallic paint (bronze, copper, or pewter all work well). Once dry, dab on a dark patina wash, then wipe away the high points to reveal the metal beneath. The result looks like a small cast metal object, not a plastic print. The contrast between the recesses and the metallic highlights is what sells the effect.
Mounting and displaying the piece
Two small finishing touches separate a print that sits on a shelf from a piece that feels intentional:
- Add a base. Glue the print to a small disc of wood, slate, or even a piece of thick chipboard. A separate base reads as a deliberate display choice. The piece looks like a sculpture, not a 3D print someone forgot to attach to anything.
- Add a small accent. A single coin-sized brass or copper element somewhere on the base or piece elevates it. Pre-cut metal craft discs from any hobby store work great.
If you have a wood-burning tool, brand the underside of the base with a small mark, your initials, or the date. Future-you will appreciate knowing when you made it. Sculptures gain meaning when they're dated.
FAQ
What's the smallest print that still looks like a real sculpture?
Around 70 millimeters tall is the lower bound for shelf credibility. Below that, the eye reads the piece as a curio rather than a sculpture, and any layer lines become visually loud. For desk pieces meant to be picked up and looked at closely, smaller is fine, since the viewing distance is shorter.
How long does a typical display print take?
A medium-sized desk piece at 0.16 millimeter layers prints in five to nine hours on FDM. A tall shelf piece might take overnight. Resin prints take roughly half the time per millimeter of height but require more post-processing. Plan finishing time on top: another 60 to 90 minutes spread across two days for paint and varnish to cure properly.
Can I sell prints I make this way?
For personal use and gifts, you're fine. Commercial sales depend on the source photo. If you took the photo yourself, of an object you own or a natural subject, you generally have the cleanest path to sell. If you photographed someone else's artwork or a copyrighted sculpture, you don't own those rights and shouldn't sell prints of them. Always check the terms of the generator you used. 3DWebGen permits commercial use on paid plans.
Will any image work, or do I need a professional shot?
Any image will technically work. Whether the result is worth printing depends on the image. A casual phone photo with good light produces better STL than a professional photo with bad light. Composition and lighting matter much more than camera quality.
How do I deal with hollow or weird internal geometry?
Most slicers auto-repair on import and handle small holes or non-manifold edges that AI meshes occasionally have. If a feature comes through obviously hollow when it shouldn't be, a free mesh repair tool sorts it out in a minute. In practice I rarely need this step.
Should I print in PLA, PETG, or resin?
For indoor display, PLA is fine and the easiest to paint. PETG resists yellowing in sun better and is the right call for pieces near a sunny window. Resin produces the cleanest surface out of the printer and is the choice for pieces you don't want to paint. All three accept finishing work well.
Can I do multi-color prints?
Yes if your printer supports it, but I'd argue against it for sculptural pieces. Multi-color filament prints create hard color lines that fight the organic feel of an AI-generated mesh. Single color print plus paint gives you smoother color transitions and more artistic control.
How do I make multiple matching pieces?
Run the same source photo through the converter, then print at three different scales (small, medium, large). The result is a coherent set of three sculptures clearly from the same original, with size variation that reads as deliberate composition. This is one of the more satisfying uses of the workflow because the cost of three pieces is barely more than the cost of one.
What if the print breaks during removal from the bed?
For thin or delicate sections, print directly on a textured PEI plate, drop the bed temperature to 50 degrees, and remove the part only after the bed has fully cooled. The piece will release on its own. If it does break, AI mesh prints glue back together cleanly because the break lines are usually obscured by the organic surface texture once painted.
Is image-to-STL better than buying decor from a marketplace?
It's better for any piece you want to feel personal. It's not better for cost or convenience on simple items. Mass-produced decor is cheap because it's made in volume by people who do it as a job. Your sculpture will cost more in your own time. What you get in exchange is a piece that came from a specific place or moment you experienced, which is not something a store can sell you.
A practical place to start
Pick one subject. The first piece you make is going to teach you a lot about your printer, your slicer settings, and your finishing technique. Don't make it a sentimental piece you can't redo. Make it a rock you picked up on a walk, a piece of driftwood, an architectural detail you photographed in passing.
Once that one comes off the bed and gets finished, the second one moves faster. By the fourth or fifth, you'll have a small ritual that fits comfortably into a weekend. Photographs in the morning. Conversion and slicing during lunch. Printing through the afternoon. Finishing in the evening. By Sunday night there's a new piece on the shelf.
The whole thing starts at 3DWebGen's image-to-STL converter. Bring a photograph that means something to you and turn it into an object you can hold.