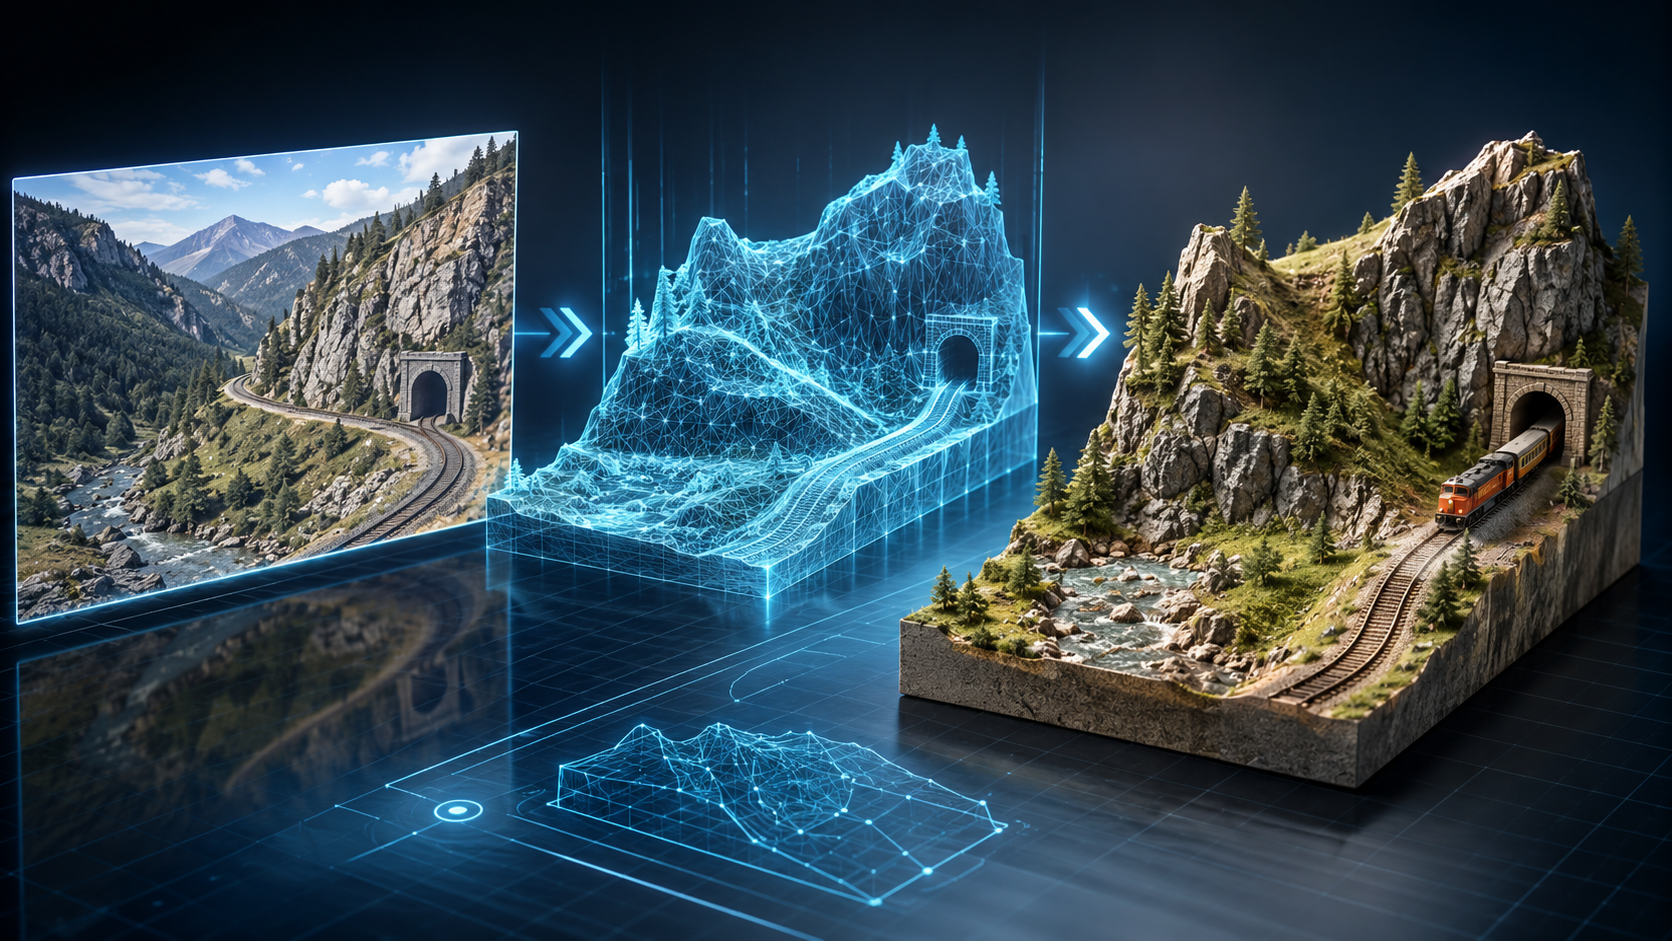
For years, the gap between "I have an idea" and "I have a printed part" went through CAD software. You either spent a few weekends learning a parametric modeler, or you searched for a model on a print marketplace and hoped someone had made what you needed. In 2026, there's a third option. AI 3D tools turn a written description into a printable mesh in about a minute, no CAD experience required. This guide is for makers who want to know exactly when that actually works, when it doesn't, and how to get the most out of it.
Where AI 3D earns its place on the maker bench
AI 3D is not a CAD replacement. It can't yet produce a precision bracket with M3 mounting holes at exactly the right offset. What it does extremely well is the other half of the maker hobby: aesthetic prints, organizers with personality, decorative covers, themed enclosures, custom knobs, drawer pulls, planter pots, desk toys, and one-off gifts. If the part doesn't need to mate with another part to a tolerance, AI 3D is faster than CAD and faster than searching a marketplace.
A quick test: if you can describe the part in one sentence ("a robot-shaped pen holder with a slot for sticky notes") and you don't care about hole positions to within a millimeter, it's an AI 3D job. If you're designing a replacement gear for a kitchen appliance, stay in CAD.
Prompt patterns that produce functional shapes
Maker prompts are different from prompts for game assets or figurines. You're optimizing for printability and clear function, not cinematic detail. A few patterns that work well:
- Lead with the function. "A pen holder shaped like a cat" beats "a cat holding pens". The first one gives you a hollow cup with cat features. The second sometimes gives you a solid cat statue.
- State the base or contact surface. "Flat bottom", "wide circular base", "rests on the back side". This stops the generator from producing a model that wants to print mid-air.
- Mention scale in object terms, not millimeters. "Desk-sized", "fits in a palm", "wall-mounted". The generator doesn't think in millimeters but it understands relative scale.
- Describe surface texture in print-friendly terms. "Smooth body with raised ribs", "low-poly faceted surface", "rounded edges". Hyper-detailed textures often disappear at print resolution anyway.
Avoid asking for very thin walls or unsupported overhangs. Words like "delicate", "floating", "wispy" will get you visually nice concepts that fail on the print bed.
The maker workflow, end to end
1. Describe, then refine
Type the description into 3DWebGen's text-to-3D generator, pick the concept image with the cleanest silhouette and the flattest base, and let it build the mesh. If the first generation doesn't match what's in your head, tweak the prompt and try again. Concept generation is much cheaper than the 3D step, so it's worth iterating on the words before committing to a full mesh.
2. Scale to the real world
AI-generated meshes come out at arbitrary sizes. Import the STL into your slicer and scale until the part is the size you actually want. Most slicers show real-world dimensions in the transform panel. If you're designing something that has to sit next to a specific object (a desk, a keyboard, a shelf), measure that object first and scale the print to match.
3. Repair the mesh
Roughly one in four AI meshes has a non-manifold edge or a small hole somewhere underneath. Slicers usually auto-repair on import. If a feature still looks wrong, run the file through a free mesh repair tool before slicing.
4. Orient for printability
For maker parts, the right orientation is usually the one with the largest flat surface on the bed. Holders, organizers, and decorative covers print best base-down. For complex shapes, lay the part flat on the side with the fewest fine details, since that side will pick up support marks.
5. Slice, print, iterate
Start with 0.2mm layers for FDM if you just want to see if the part works. If the first print looks promising but coarse, reprint at 0.12mm with a slightly slower outer perimeter speed. For resin, the AI's slightly soft surface detail likes a marginally longer exposure than your resin's default.
Real maker use cases where this beats CAD
Themed desk organizers
A custom cable corral shaped like an octopus, a pencil cup with skull detailing, a coaster set with engraved geometric patterns. These take an hour in CAD and 90 seconds in AI 3D.
Personalized gifts
Tell the generator the recipient's hobby and the kind of object you want. "A small wall-mounted hook shaped like a guitar headstock, smooth wood finish look." You get something specific to the person without sculpting it by hand.
Holiday and seasonal decor
Pumpkins with weird faces, ornaments in any shape you can describe, themed planters. These items have a short shelf life, so investing time in CAD doesn't make sense. AI 3D is the right tool.
Tabletop and display props
Display bases for collectibles, custom pen rests, dice trays with themed walls. As long as you're not chasing tight tolerances, AI 3D handles this cleanly.
Cosplay prop blockouts
Before you spend a weekend sculpting a prop in clay, generate a few AI variants, scale them to the right size, and print rough versions. Use those to test scale, weight, and grip before committing to the real build.
Where AI 3D still falls short
- Anything with a thread or a snap fit. The mesh isn't precise enough for parts that need to screw together or click into a housing.
- Replacement parts that have to mate with an existing object. If the part has to fit a specific shaft, slot, or screw pattern, you need real measurements.
- Flat-pack assemblies. Tabs and slots need exact dimensions and angles. AI is too approximate.
- Mechanical parts with moving joints. Hinges, living springs, captured nuts. All CAD territory.
The rule of thumb: if you'd describe the part as "decorative" or "aesthetic", AI 3D is great. If you'd describe it as "engineering", you still want CAD.
Reducing print failures on AI meshes
- Print a small test version first if you're not sure about the geometry. 30 percent scale tells you in 20 minutes whether the full version is worth the time.
- If a feature looks too thin in the slicer preview, scale the whole part up or beef the geometry up by enabling a small horizontal expansion in your slicer.
- For anything tall and narrow, add a small brim. AI meshes occasionally have a slightly uneven bottom that benefits from extra bed adhesion.
- Save the prompts that gave you good prints. You'll want to reuse and tweak them.
The honest summary
AI 3D is the fastest way for makers to get a custom, one-off, decorative print from idea to printer bed without touching CAD. It is not a CAD replacement and probably won't be for a few more years. But for the long tail of "I just want a thing that looks like X", which is honestly most of what makers actually print, the workflow is now ridiculously short. Type, pick, slice, print.
If you want to try it on whatever project is on your bench right now, the text-to-3D tool at 3DWebGen goes from blank prompt to downloadable STL in about a minute. Bring something to your next print session that you couldn't have found on any marketplace.