Making a usable 3D model used to take days in traditional 3D modeling software or a photogrammetry rig. In 2026, a one sentence prompt and an AI generator can hand you a textured mesh in under a minute. This guide walks through the exact text-to-3D workflow that's now powering game prototypes, product mockups, and miniatures for 3D printing. You'll learn how to write prompts that don't waste credits, how to pick the right concept image, and which export format you actually need.
What text-to-3D really does under the hood
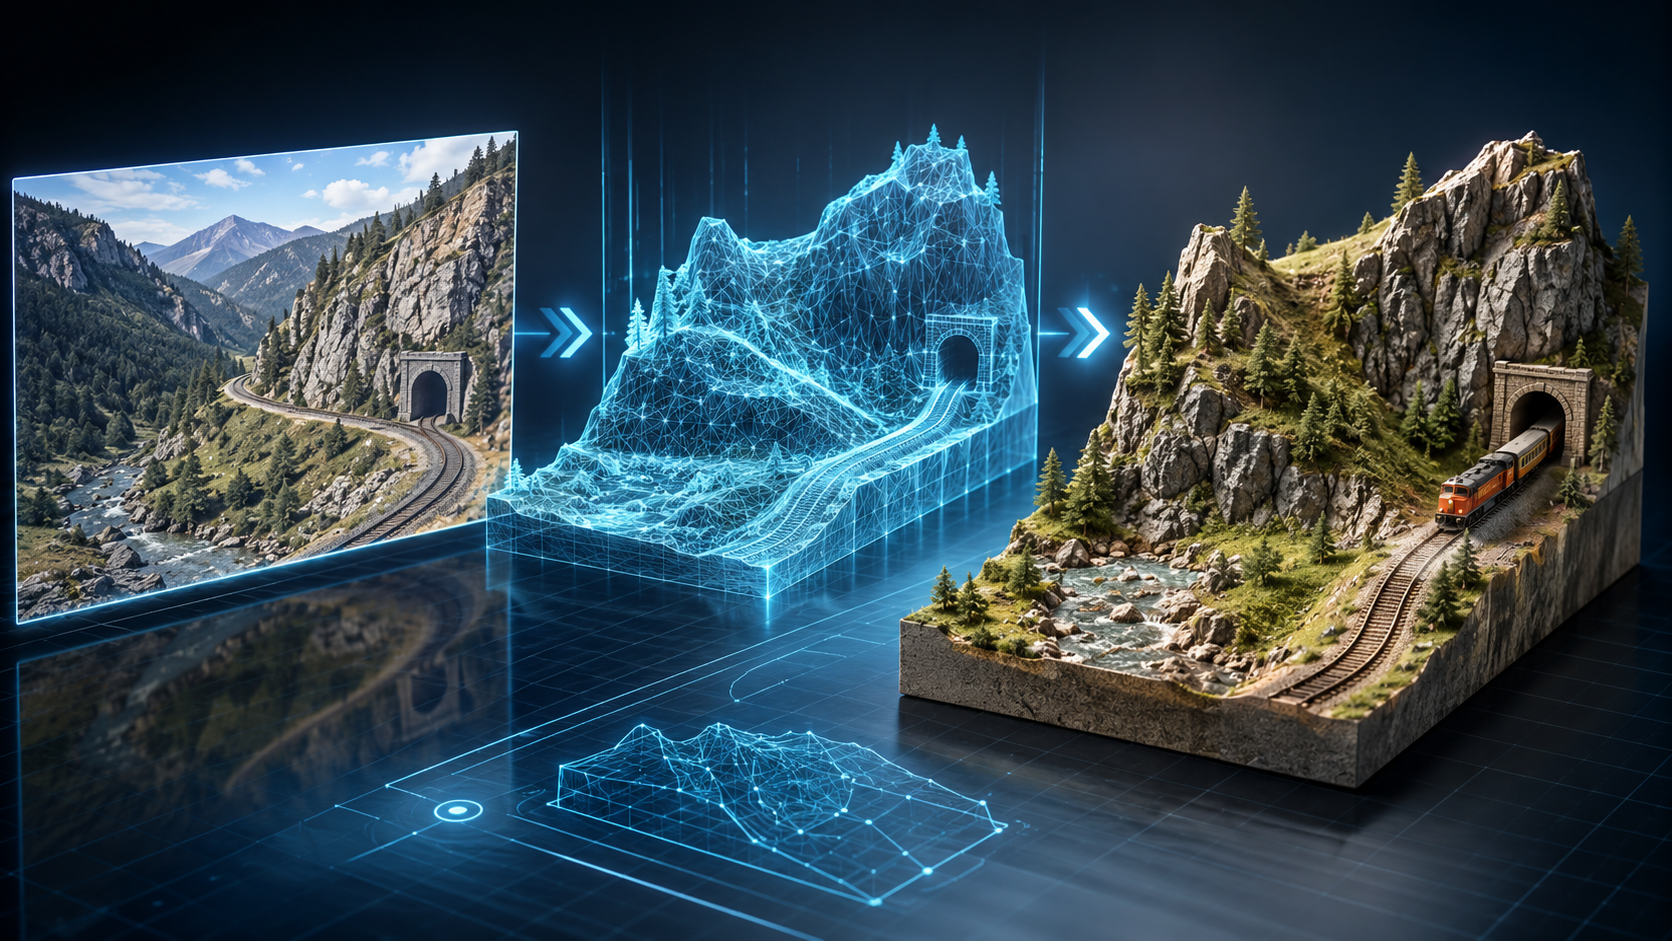
Modern text-to-3D pipelines are almost never a single model. They're a chain. First a text-to-image step paints concept renders from your prompt. Then an image-to-3D model reconstructs geometry and bakes textures from the concept you choose. The output is a real .glb, .obj, or .stl file, not a render. That's why these tools matter for production work and not just demos.
Splitting the pipeline this way is what makes the result feel art-directable. You don't get one random mesh and pray. You pick the concept you actually want, and only then do you spend the expensive 3D step on it.
The 4-step workflow that gives you usable meshes
1. Write a prompt with shape, material, and silhouette
Generic prompts give generic geometry. Strong prompts describe three things on purpose:
- Object and pose: "a sitting cat", "a standing knight", "a coiled dragon". Anything that locks the silhouette.
- Style or era: "stylized low-poly", "realistic PBR", "art-deco", "steampunk".
- Material: "brushed brass and walnut", "matte ceramic", "weathered iron".
A bad prompt is just "a robot". A good prompt is something like "A short, friendly desk robot, rounded matte-white plastic body with copper joints, single glowing blue eye, sitting pose." The more specific the silhouette, the cleaner the mesh comes out.
2. Pick the concept image with the cleanest silhouette
The image-to-3D step reads geometry from the silhouette and surface cues in your concept. So when you see the three candidate renders, don't pick the prettiest one. Pick the one with the clearest outline, minimal motion blur, and the subject roughly centered on a plain background. Crossed limbs, see-through fabric, and very thin spikes are where text-to-3D tools fail most often.
3. Generate the 3D mesh
The reconstruction step usually takes 30 to 60 seconds on a current GPU. You'll get back a mesh somewhere around 30k to 80k triangles with a baked texture map. For most prototypes that's fine. For real-time engines you may want to retopologize down or run it through an automatic LOD tool.
4. Export in the right format
Use the format the next step in your pipeline expects.
- GLB / GLTF: the default for game engines, web 3D viewers, and AR/VR. Geometry and textures live in one file.
- OBJ: universal, but textures live in separate files. Good for traditional 3D software imports.
- STL: geometry only, no color. This is what you want for 3D printing.
Prompt patterns that consistently work
After watching thousands of generations on 3DWebGen's text-to-3D tool, a few prompt templates show up over and over in the good results:
- Character template: "A <adjective> <creature/character>, <pose>, <material> body with <accent> details, <mood> expression."
- Prop template: "A <era/style> <object>, made of <primary material> and <secondary material>, <condition: weathered/polished/cracked>."
- Miniature template: "A small detailed <subject> figurine, <style> design, standing on a circular base, suitable for tabletop scale."
Negative cues like "not photorealistic" or "no background" rarely help. Modern generators mostly ignore them. Spend the tokens on positive description instead.
Where text-to-3D fits in real workflows
Game and indie prototyping
For greyboxing levels or stand-in props before you hire an artist, AI-generated meshes drop straight into game engines via GLB. The geometry won't be production-grade. But it's faster than buying asset packs, and it lets you keep iterating on art direction without blocking gameplay work.
Product visualization and e-commerce
Marketing teams use text-to-3D to mock up packaging variants, hero shots, and AR previews before committing to a real photoshoot. Lead time goes from days to minutes.
3D printing and miniatures
Hobbyists who print small figurines are one of the biggest user bases for AI-generated 3D. Export as STL, slice in your usual slicer, and print. For mini-scale prints, watch out for thin details. Automatic supports usually save you, but very fine spikes or fingertips may need a manual repair pass.
Animation and concept art
Even when you're not shipping the AI mesh, you can use it as a 3D reference for line-of-action sketches, pose libraries, or lighting studies. It's faster than sculpting a quick blockout.
Common mistakes that burn credits
- Prompts under 15 characters. The text-to-image step needs enough signal to compose a scene. One word prompts produce mush.
- Generating 3D from a busy concept. Backgrounds, multiple subjects, or strong shadows confuse the reconstruction step. Pick a clean, isolated subject.
- Expecting topology you can rig. AI meshes are dense triangle soup, not animation-ready quad meshes. Retopologize before rigging. Don't try to rig the raw output.
- Skipping background removal. Good text-to-3D tools strip the background automatically. If you're uploading your own image, do it yourself first.
How text-to-3D compares to image-to-3D
The two are increasingly the same product behind the scenes. Text-to-3D just adds a concept-image stage on top. Pick text-to-3D when you're inventing something from scratch and want art direction control through prompts. Pick image-to-3D when you already have a reference photo, sketch, or render you want to convert directly. If you're not sure, start with text-to-3D. The extra concept step is cheap and gives you a sanity check before the expensive mesh step.
What's next for text-to-3D in 2026
The frontier in 2026 is moving in three directions: higher-poly base meshes with cleaner topology, PBR material outputs (separate roughness, metalness, and normal maps, not just baked diffuse), and multi-view consistent generation that lets you specify what the back of the model looks like, not just the front. Expect the gap between AI 3D and hand-sculpted assets to narrow fast.
Try it yourself
If you want to see how this works on a real prompt, head to 3DWebGen's text-to-3D generator. Type a description, pick the concept image you like best, and you'll have a downloadable GLB, OBJ, or STL in about a minute. The whole pipeline (concept generation, background cleanup, mesh reconstruction, texture baking) runs end-to-end in the browser with no install.